Create a New Screen
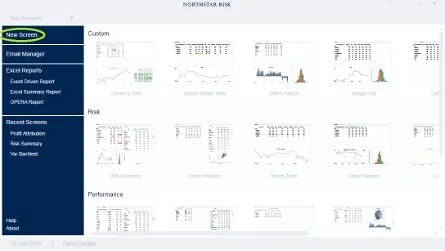
1. Near the top of the application, click the “+” to open a new tab.
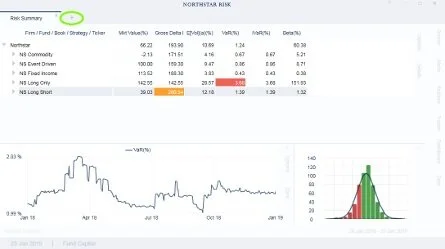
2. On the left, click “New Screen” (this will create a copy of our default Risk Summary screen), or right-click on one of the thumbnails to the right, and select “Copy” to start with a copy of a different template.
Make changes to this new screen. You can change the grouping, add columns, and/or modify charts. To add additional charts or add-ins, you can go to the “Screen” tab or “Dashboard” tab, both on the right-hand side of the application.

3. When you are done making changes, go to the “Screen” tab on the right side of the application. Here, you can change the name of the screen, decide if the screen will be public or private (public screens can be used by anybody at your firm), change the date range and add additional charts. When you are ready, click “Save”.

4. The next time you open the application, you can open this new screen by clicking the “+” to open a new tab. The new screen should be listed in the top row, under “Custom” screens.

If you make a mistake, and want to start over, don’t worry. You can click “+” to open a new tab, find the thumbnail for your custom screen, right-click, and select “Delete” to remove. To prevent accidental deletion by other users, before saving a screen, check the “Read Only” check box.